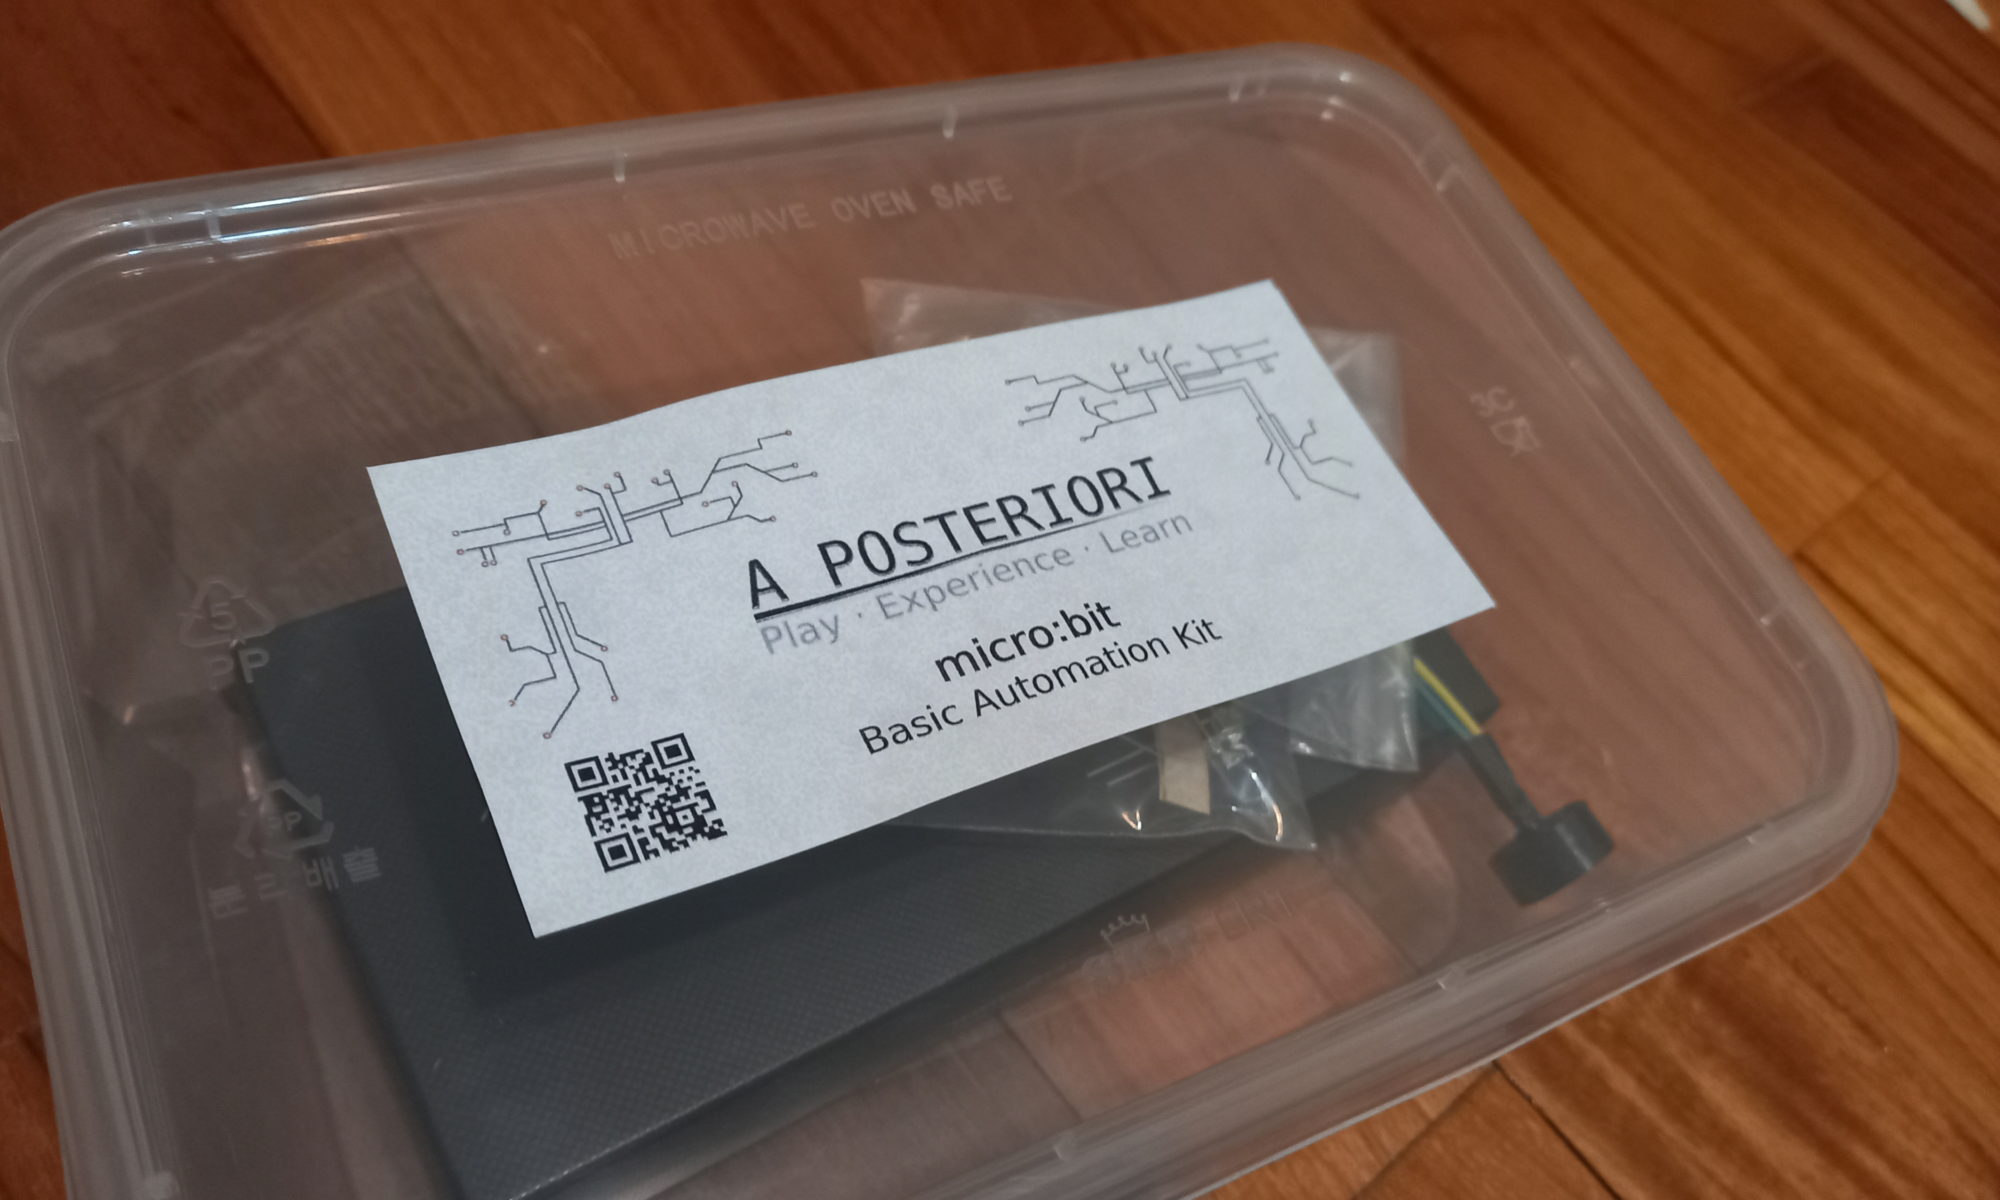
This is a resource page for people using A Posteriori’s micro:bit Basic Automation Kit.
Kit contents:
| Motor Driver / Breakout Board |
| Servo Motor |
| Piezoelectric Buzzer/Speaker |
| Assorted LEDs (w/ resistors) |
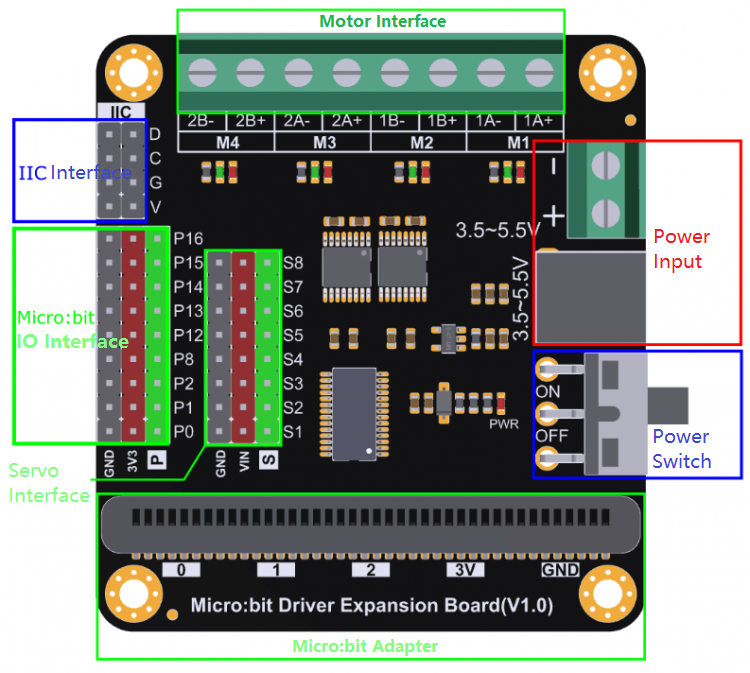
Motor Driver
To learn more about the DFRobot Motor Driver, use this reference guide.
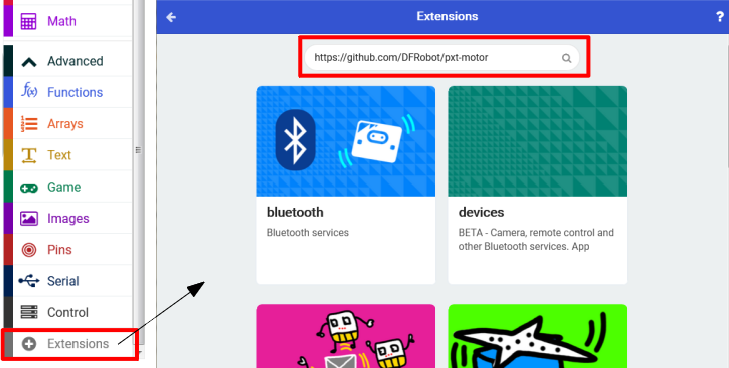
To use the board easily in the Makecode environment, you add a new “extension”, and copy the following URL into the Extension field:
https://github.com/DFRobot/pxt-motor
https://wiki.dfrobot.com/Micro_bit_Driver_Expansion_Board_SKU_DFR0548
Servo
To use the servo follow the simple instructions to connect the 3 pins either to one of he Pin (P) rows, or one of the Servo (S) rows. Make sure to match the black (GND) wire with the black (GND) connector on the row you use.
The difference between using the P and S columns is that for P the power is coming from the micro:bit’s 3V regulated output, while for S the power comes from the DFRobot Driver’s VIN (3.5-5.5V).
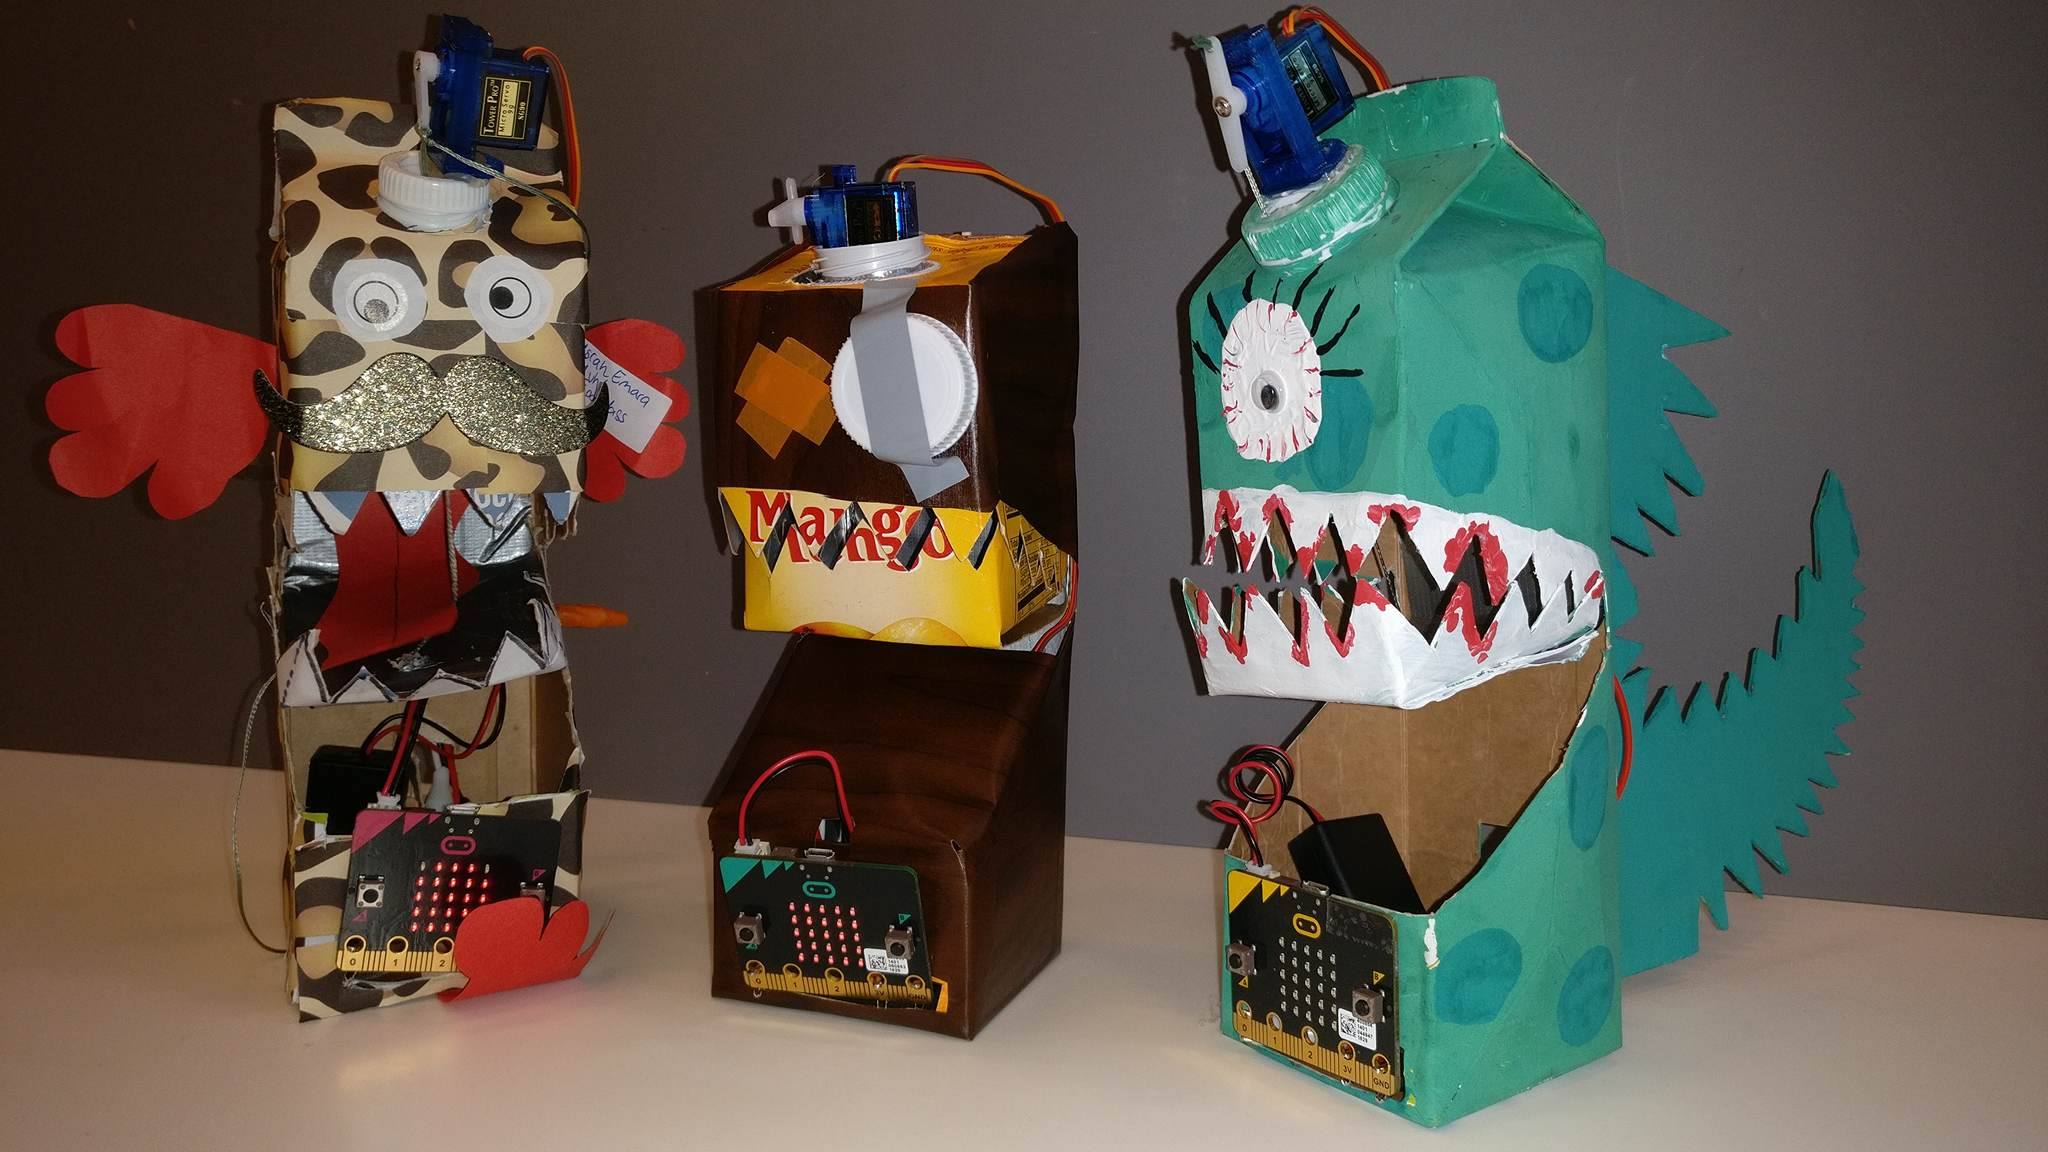
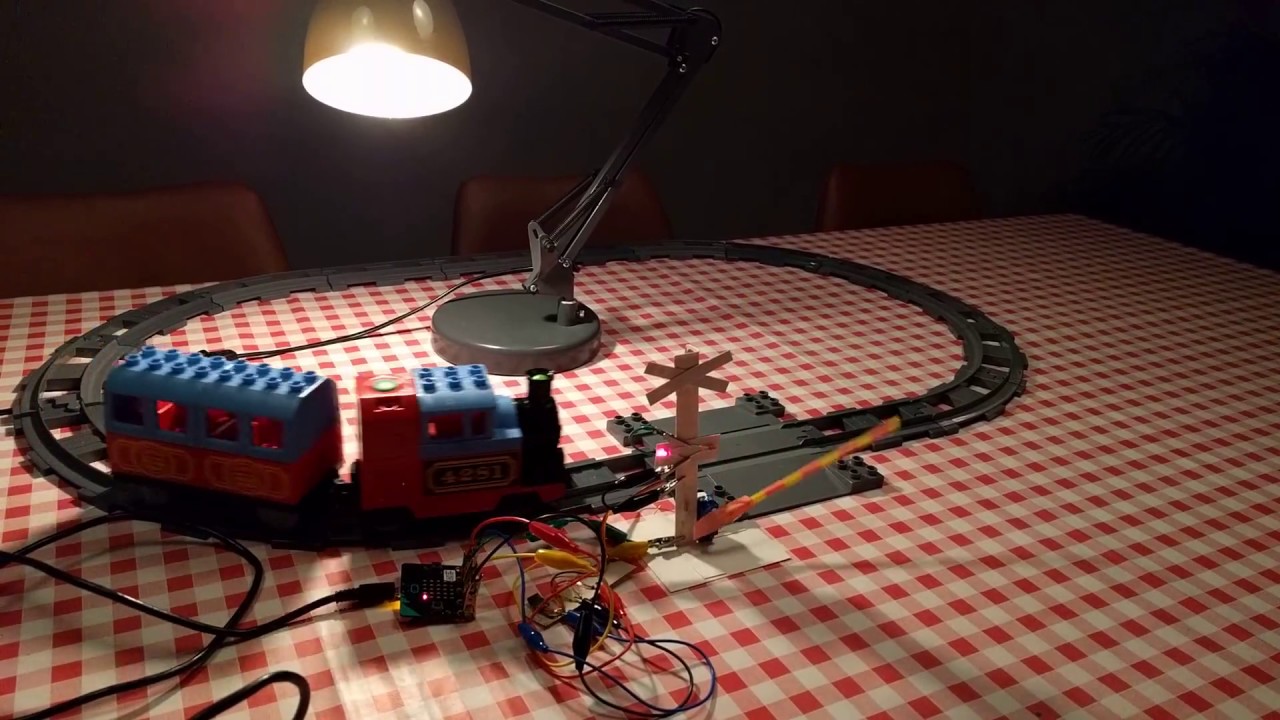
Some project ideas:


Buzzer
The Buzzer can only connect to P0 row pins (GND and P – don’t use the middle power pin 3V3). It doesn’t matter which Buzzer wire connects to GND or P on P0. Once the buzzer is connected, and music blocks that play tones or melodies should sound through piezo buzzer.
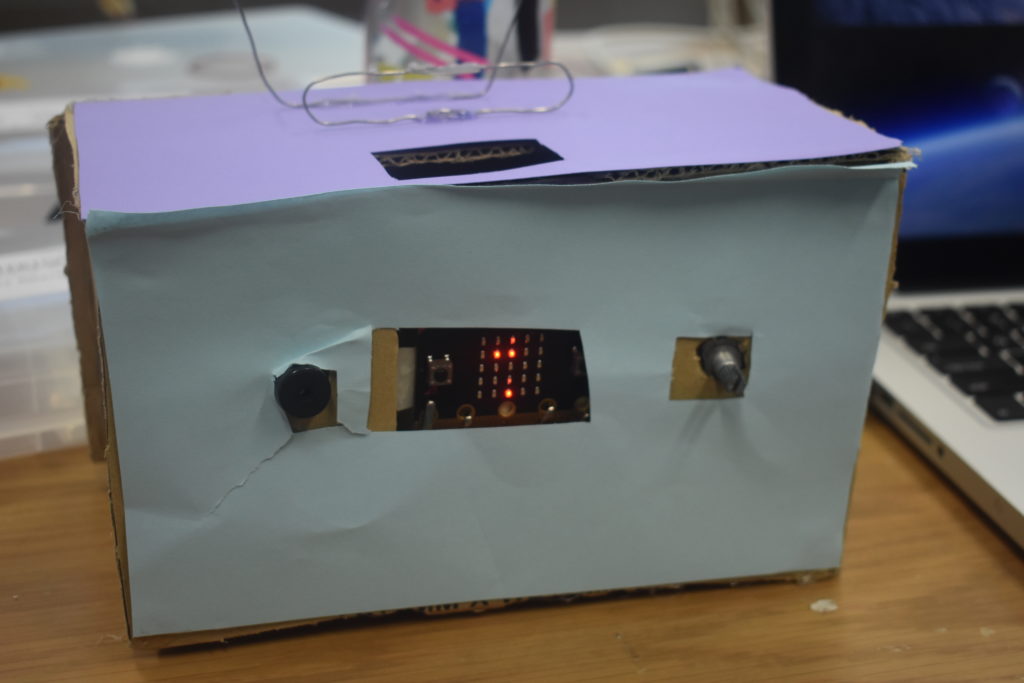
Project Ideas:
LEDs
LEDs should be connected between one of the programmable Pins (P0-2) and GND. You can use alligator clips directly with the micro:bit.
If you wish to connect the LEDs using the motor breakout board, then the LEDs should be connected to the P# rows. Each LED has a long and short leg. The short leg connects to GND pin, while the long leg connects to either 3V3 (LED always on), or the P (programmable) pin.
WARNING: You should add a resistor between either the short or long leg for the red, green, and yellow LEDs in order to reduce the amount of current that will be pulled through the LED – this keeps the circuit safe and reduces chances of future LED failures.