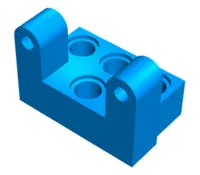
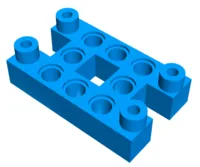
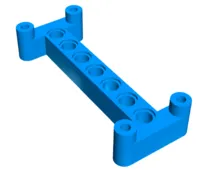
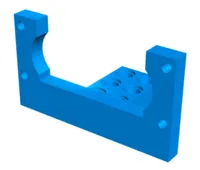
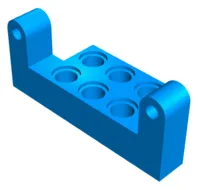
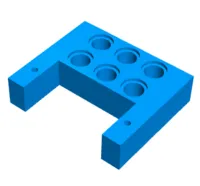
These adapters are meant for parts commonly used in robotics. They are created for the Opensource Robot Design, but can be used with any robots. They allow you to easily…
- Adjust height (eg. color sensor height)
- Connect to Lego Technic parts*
* If you are not using Lego parts, you can just attach the adapter on to your robot base with machine or wood screws through the Lego size holes.
The below links will open the design in JSCAD, where you can configure them and export them to a file (eg. STL) for 3D printing.
Note that due to differences in 3D printers, you may need configure the dimensions to make it fit well (On my Monoprice Mini, setting the Lego hole dimensions to 5mm, 6.4mm, 0.9mm, and axle dimensions to 5mm, 1.9mm, 0.9mm works best).
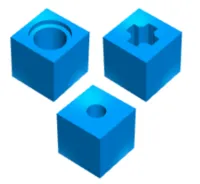
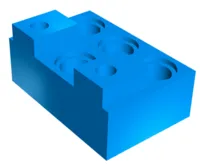
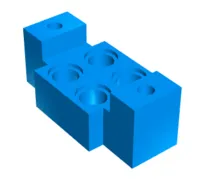
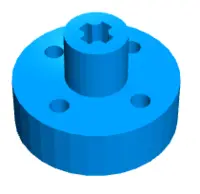
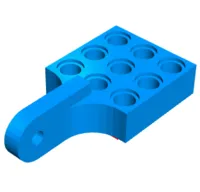
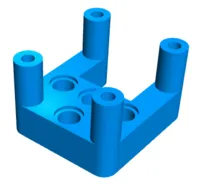
Test model
Some of the dimensions will need to be adjusted to suit your 3D printer. Rather than spending an hour printing a large adapter only to find that the dimension aren’t right, you can print these small test pieces to check if it fits.
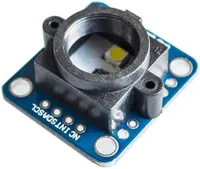
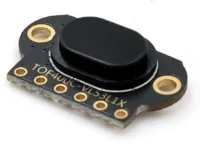
GY-33 (Color Sensor)
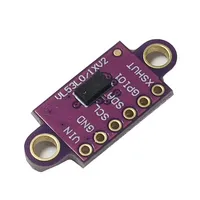

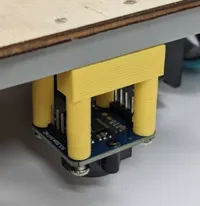
VL53L0X / VL53L1X (Time-of-Flight distance sensor)
Some sensors are smaller (17mm between mounting holes). Be sure to configure the model correctly.
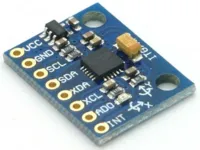
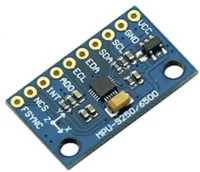
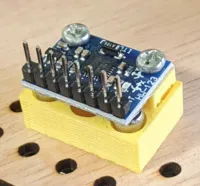
GY-521 (MPU-6050 accelerometer and gyro) and MPU-9250
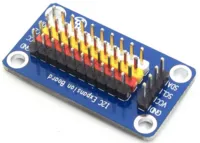
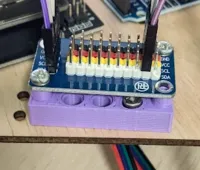
I2C Expansion Board
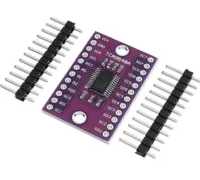
TCA9548A (I2C Multiplexer)
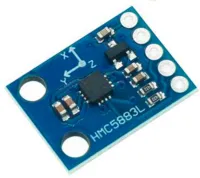
HW-127 (HMC5883L Magnetic Compass)
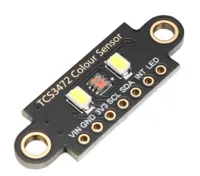
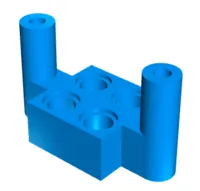
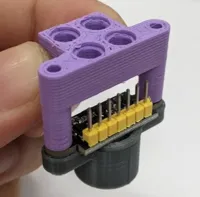
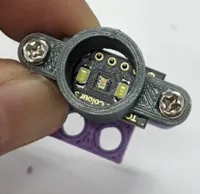
TCS-3472 (Color Sensor)
When configuring, make sure the height is sufficient for the pins, or offset the mount to one side.
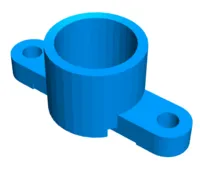
A shroud is also available. This can be fitted over the color sensor to shield it from ambient light interference, and to make the detection area smaller.
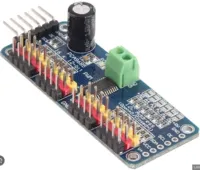
PCA-9685 (Servo Driver)
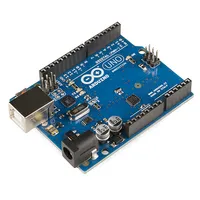

Arduino
Many other board (eg. ESP-32 adapter) uses the same dimensions, and are compatible with this.
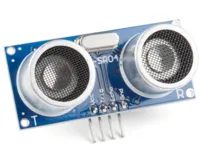
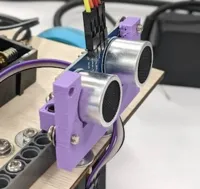
HC-SR04 (Ultrasonic distance sensor)
There are many varients of this, so you might need to adjust the dimensions to fit yours. Also note that the securing screws are NOT meant to go through the holes on the sensor board, they go around it and use one side of the screw head to hold the board in place. The pins of the sensor should be at the top when mounted.
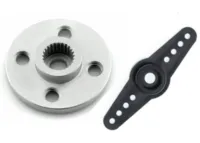
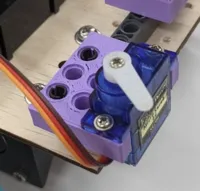
Servo Horn (SG90 / MG995 / MG996 / DS3120)
These can be attached to the plastic or metal servo horns, allowing them to be connected to Lego parts.
Note that the MG995, MG996, and DS3120 uses the same horn size.
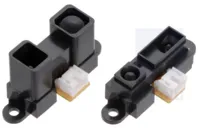
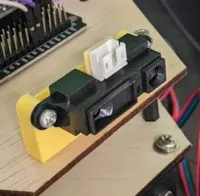
Sharp Distance Sensors
These comes in different sizes. The 150cm and 80cm models will fit. The other models may require you to change the “Distance between sensor mounting holes” settings.
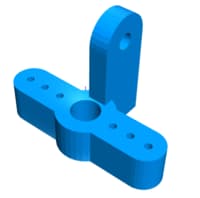
Shaft to Lego Axle
When coupling a non-Lego motor to a Lego part, you should ideally use a metal coupling. If that’s not possible, you can use the adapter here, but be warned that a 3D printer plastic adapter can’t take much load.
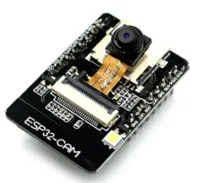
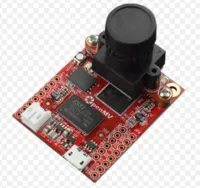
Camera
You’ll need to print both the camera adapter and the camera base.
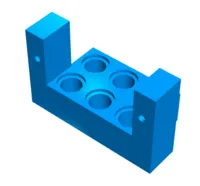
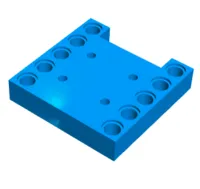
Board
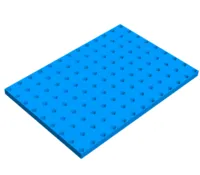
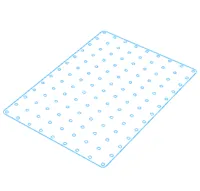
It’s recommended to use a wood or acrylic board, but if you must 3D print one, you can use this model. The board can be printed with Lego holes or M3 holes.
A 2D model is also provided for laser cutting. Only M3 holes are supported.
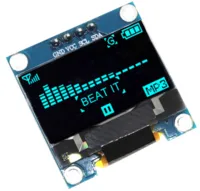
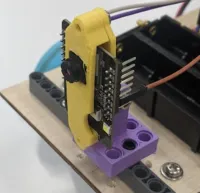
SSD-1306 (OLED Screen)
The default height is meant to cater space for the pins which are normally pointed downwards. If you resolder the pins to face upwards or sideways, you can use a much lower height.
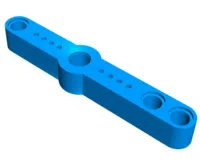
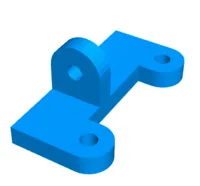
Servo Adapters (SG90 / MG995 / MG996 / DS3120)
These allows the servo to be connected to Lego parts.
Note that the MG995, MG996, and DS3120 uses the same adapter size.
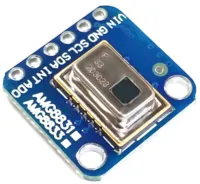
AMG8833 (IR Thermal Camera)
Note that the screw holes for these are M2, and not the typical M3.
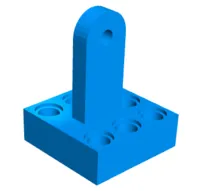
The adjustable mount is meant for use with the base in the camera section.
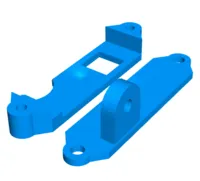
Motors
Some of these comes in two versions; one attaches directly to the motor, while the other attaches to the motor’s metal bracket.